

How To Stop Recording In Activepresenter
(Concluding Updated: July 29, 2021)
ActivePresenter 8 gives you lot simple and easy ways to start and end recording that volition be pointed out in this tutorial.
Commencement Recording
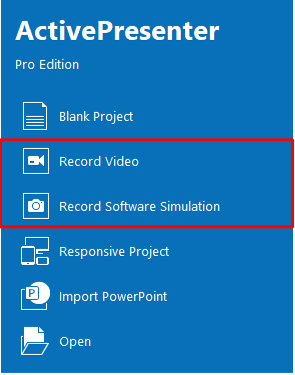
You at present work with a very intuitive user interface in ActivePresenter viii. From the Start Page, you lot can choose between Tape Video or Record Software Simulation to start recording in minutes.
The quondam is for recording a video demonstration as a video projection. The latter is for creating a software simulation every bit a slide-based one.
Assume that yous program to create a video demo. And so, do the steps below:
Step i : Go to the Start Page > Record Video. And then, the blueish rectangle and the Record Video Project dialog appear.
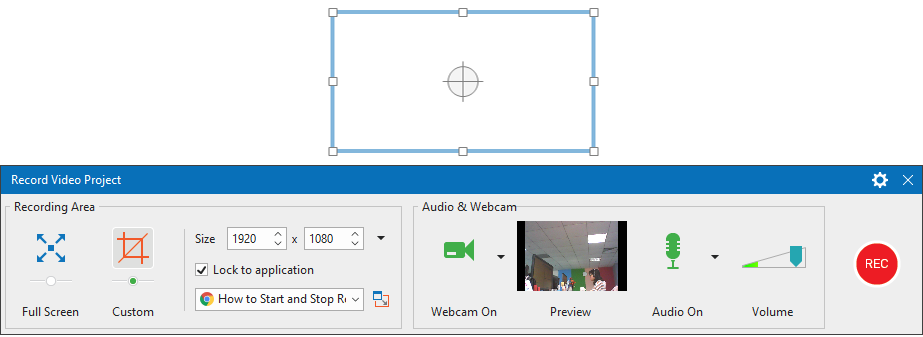
Stride ii : Specify the recording area and other settings. For more details, see How to Record Video Demonstrations and How to Record Software Simulations.
Step 3 : To start recording, click the Record push.
ActivePresenter volition start to record after the inaugural. And then, all of your actions happening inside the selected recording area volition exist recorded.
Note: The Tape Video and Record Software Simulation commands are also available in the editor. You can click the ActivePresenter button to select one of these commands and start recording a new project. Or, select them from the Abode tab to capture screen as one or multiple slides in the current project.
Finish Recording
Use Hotkeys
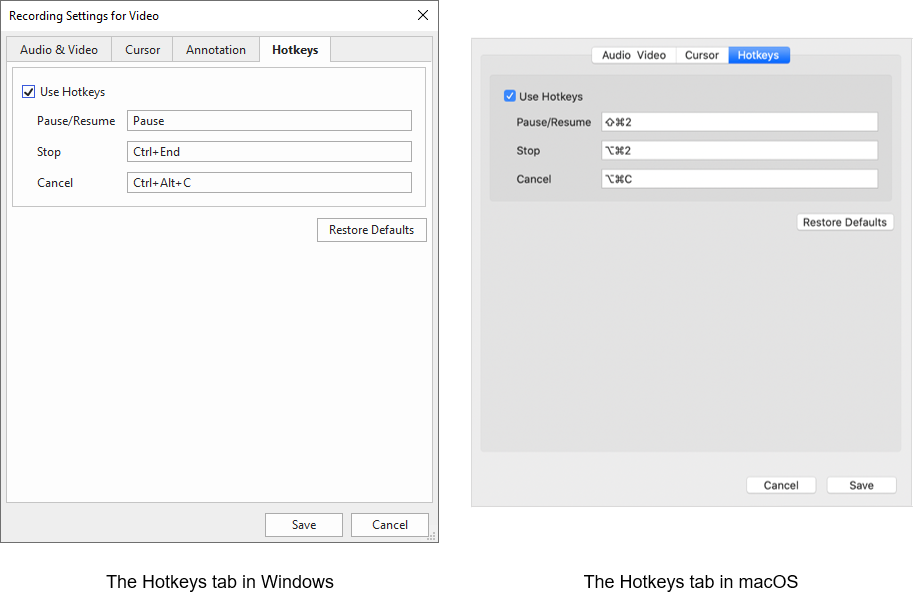
The easiest way to cease recording is by pressing CTRL and Terminate (for Windows) or ⌥⌘ii (for macOS). However, yous are able to alter this keyboard hotkey to any of your choices. To do that, admission the Recording Settings dialog by clicking the gear icon at the tiptop-right corner of the Record Video Project dialog. Then you can run into a Hotkeys tab here. This tab allows you to set the shortcuts for some of the most ordinarily used commands such as Pause/Resume, Cease, and Abolish.
You can simply click any command box and then press a key or a combination of keys to assign new hotkeys.
Note: Because of the differences between macOS and Windows keyboards, you demand to apply different hotkeys for performing these commands.
Use Recording Toolbar Dialog
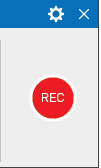
In addition, the commands above tin be found in the Recording Toolbar dialog. When you beginning recording, the main dialog will be subconscious. Instead, the ActivePresenter icon will announced on the Taskbar or system tray.
Then, click the ActivePresenter icon to show the Recording Toolbar dialog.

The Recording Toolbar gives you bones information nigh statistics, recording duration, sound level, and webcam preview. This toolbar as well offers 3 functional commands: Pause, End and Discard.
- Pause (1): Come in handy when you're busy with something and need to suspend the recording process for a while. Click Intermission to temporarily pause the recording and click it once again to resume.
- Stop (two): Click to cease recording. Click Stop to terminate the recording and step into the editing process.
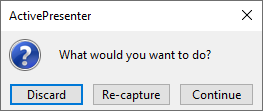
- Discard (3): Click this push button to display a dialog giving you three options. Discard is to abort the project that you lot are currently recording and remove all of what you've recorded. Otherwise, Re-capture is to abort the current recording without saving it and start a new recording with previous settings. Continue is to resume the electric current recording.
Tip: Showing the Recording Toolbar dialog right from the showtime of recording is good when capturing a role of the screen, peculiarly when recording webcam at once. In the latter case, y'all're able to see a live preview of yourself. To do that, in the Record Video Project dialog, click the Settings button (the gear icon) > select Testify Recording Toolbar. However, the app will record anything happening inside the recording expanse, you should place this toolbar outside the selected area.
It's and so simple to kickoff and stop recording in ActivePresenter 8. Download the app today and create a new recording projection. Don't hesitate to contact usa if you demand any back up.
More articles you lot may want to know:
- Record Video Demonstrations
- Record Software Simulations
- Work with Recording Settings Dialog
Source: https://atomisystems.com/tutorials/ap8/start-and-stop-recording-activepresenter-8/
0 Response to "How To Stop Recording In Activepresenter"
Post a Comment